Let’s face it. Where we live, you need to layer up in the winter months!…
Kids Craft: Paper Snowflakes

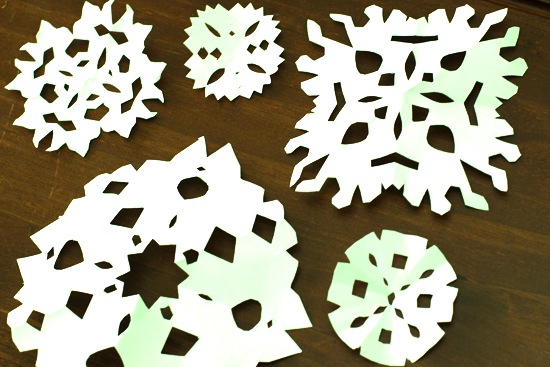
Winter break is on its way! When the kids are cooped up inside, try this fun and easy project! It will keep the kids occupied and the snowflakes are great to decorate your windows with!
Happy winter crafting!
How to Make Paper Snowflakes?
Materials: Paper and scissors.
- Fold the paper in half: Start with a square piece of paper. Fold the paper in half diagonally to make a triangle
- Fold into another triangle: Now, fold the triangle in half so the pointy corners meet.
- Fold into thirds.
- Fold and make adjustments: Fold in half so there is one point facing up and two points on the bottom. You may need to adjust the fold a little to get the sides to match up, so don’t crease the paper until the folds are just right.
- Cut across bottom: Cut across the bottom of your paper (cutting off the two points) so that it is straight.
- Cut lines into triangle: Cut the folded paper with variations of straight and curvy lines. Get creative with your snowflake designs by experimenting with different sizes and shapes of cutouts.
- Unfold paper: Gently unfold the paper to see your unique snowflake. Use poster putty to attach to windowpanes, or make a wreath of snowflakes by sticking them one at a time to a wall with poster putty.
Enjoy your new winter decorations!


